Translate

Tuesday 6 October 2015

Slowly but surely .....

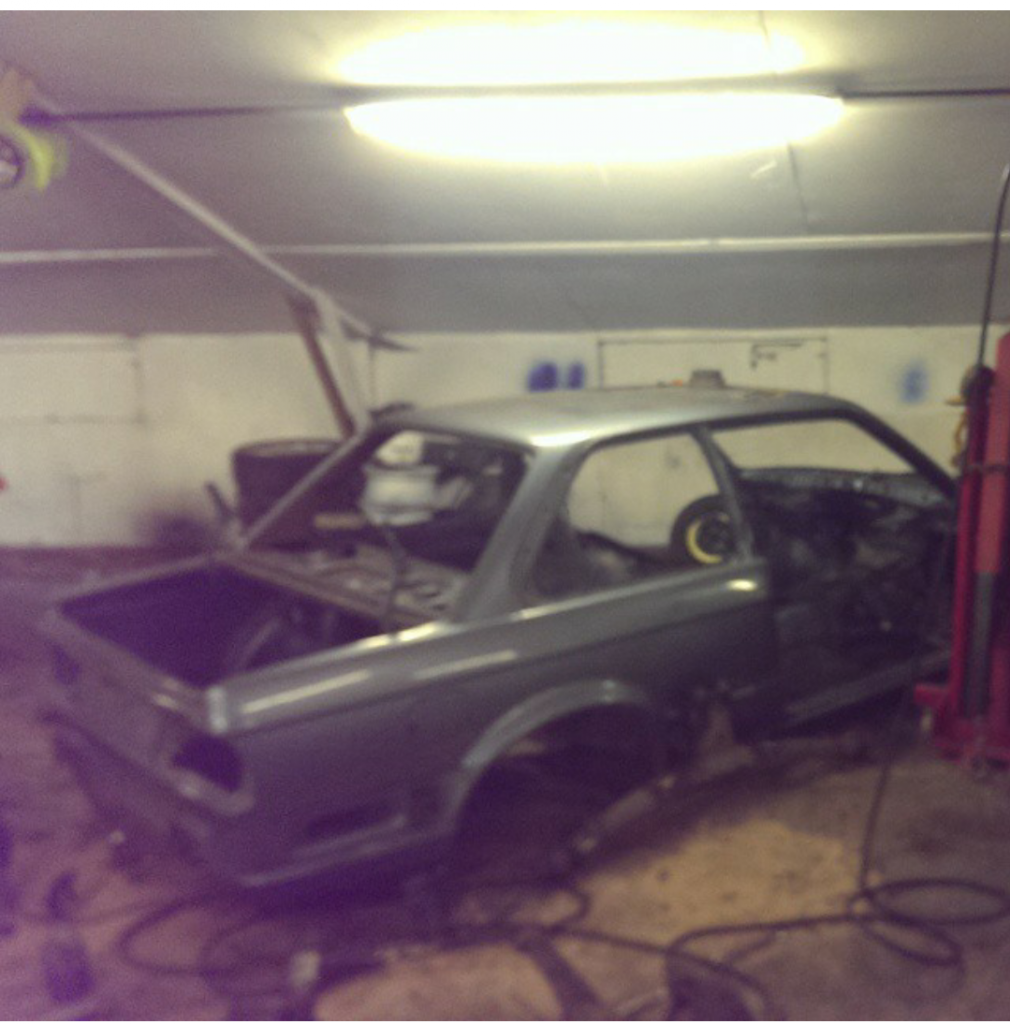
Well for months all I tried to do was tackle welding and old spot welds. Eventually I gave up , came to the conclusion that my welds just are not "pretty" enough .

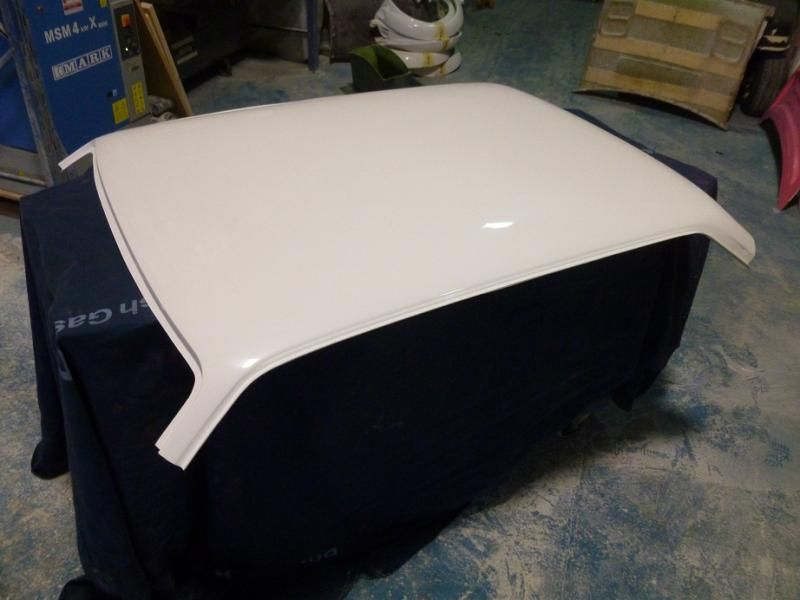
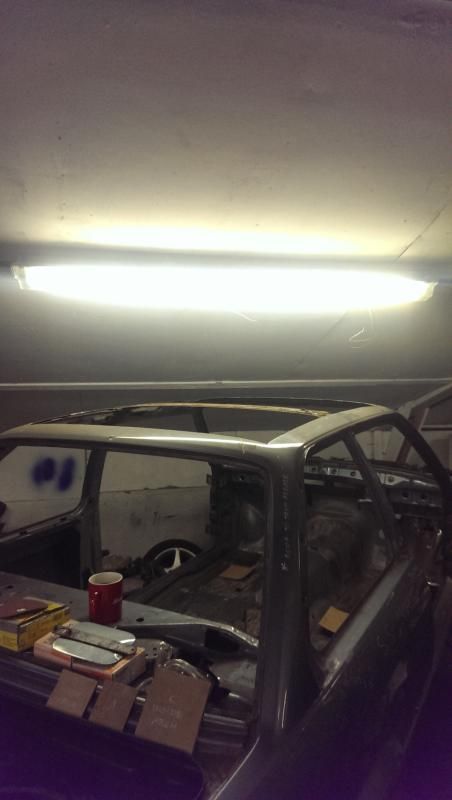
Did manage to get my roof secured nicely in place and flushed into the pillars , still some sanding required and shaping but it's really getting there. Will need gutters trimming and around the Windows but going to do that at the prep stage.

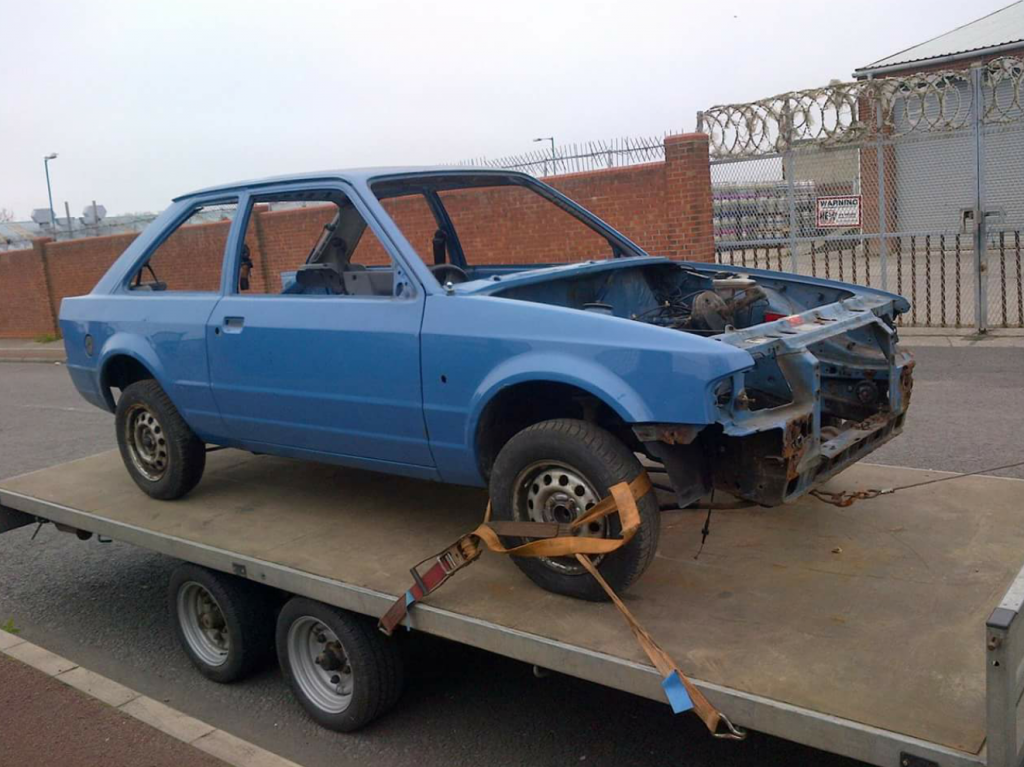
So back to the welding stage, after some thinking and discussion with lads at garage a local lad was found who is a genius in restoration work . Looked at some of his stuff on Facebook and that was me sold.

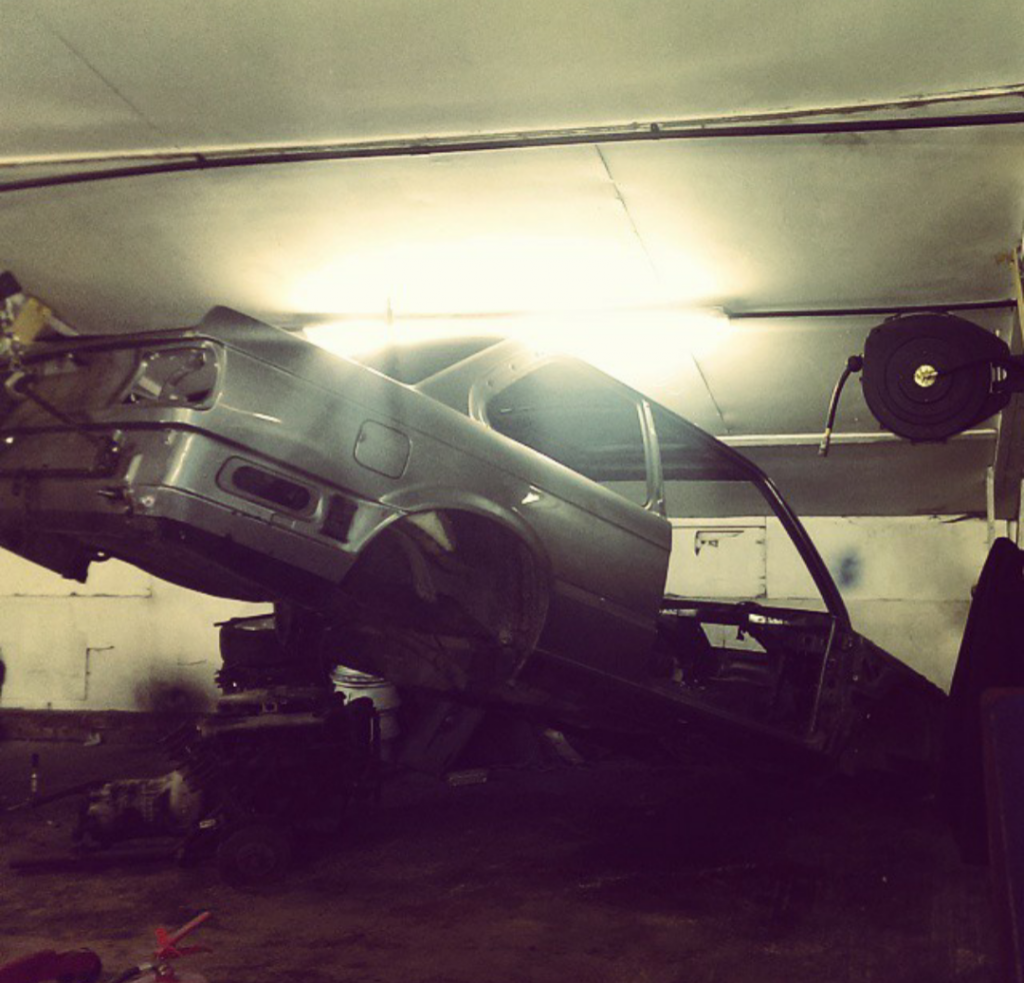
So car went back on a trailer :


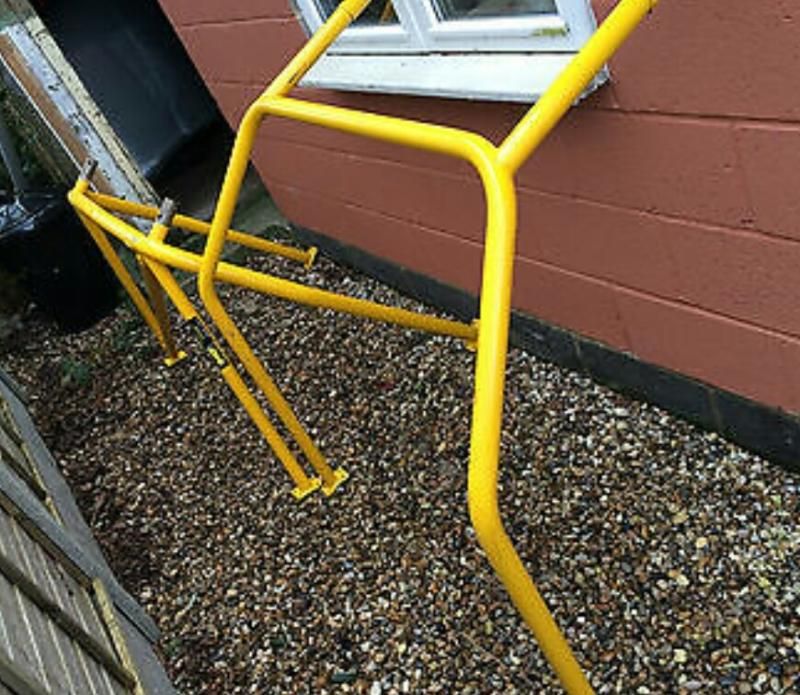
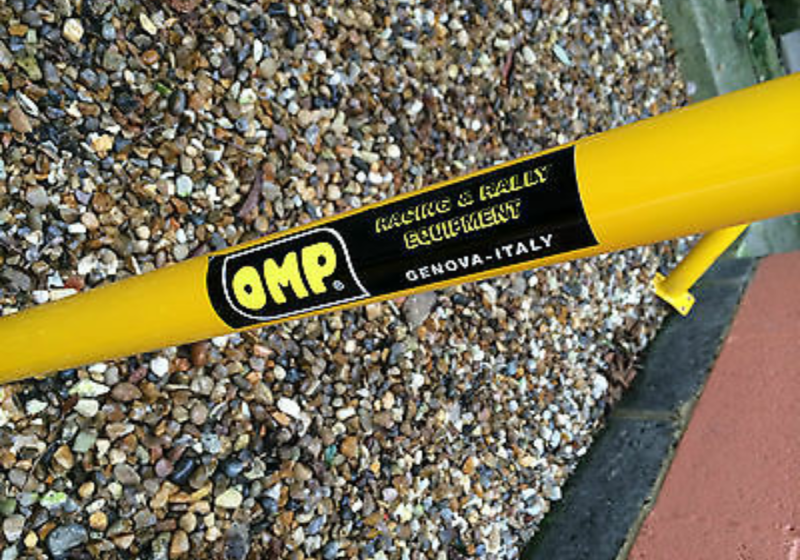
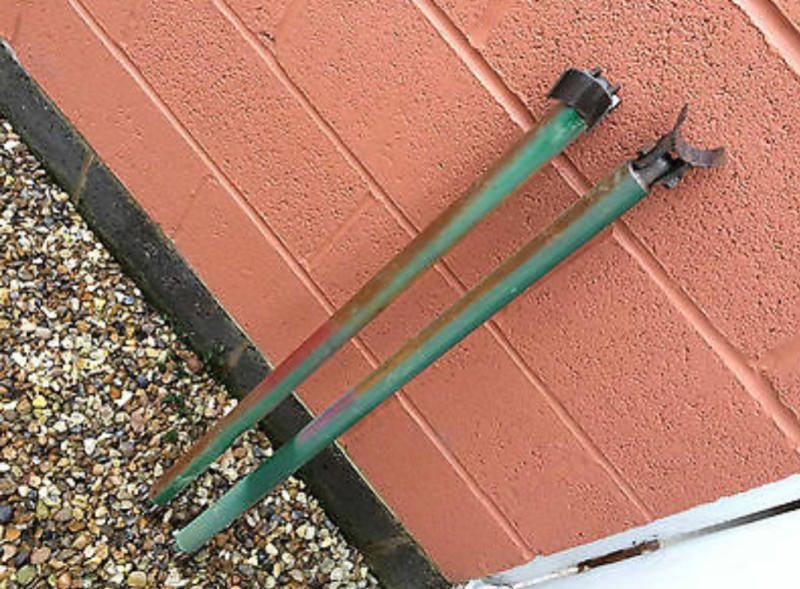
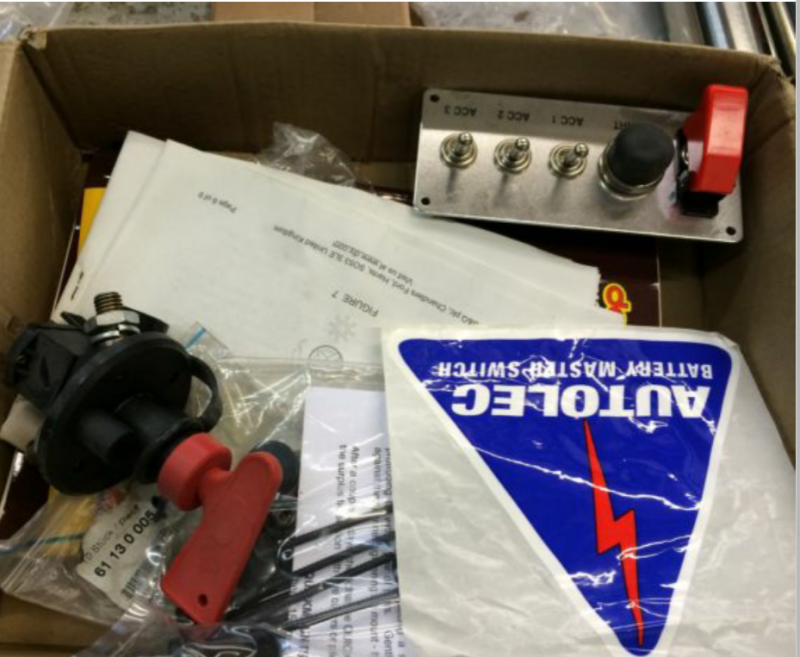
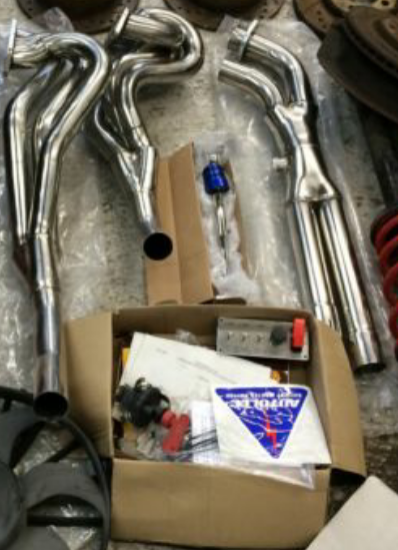
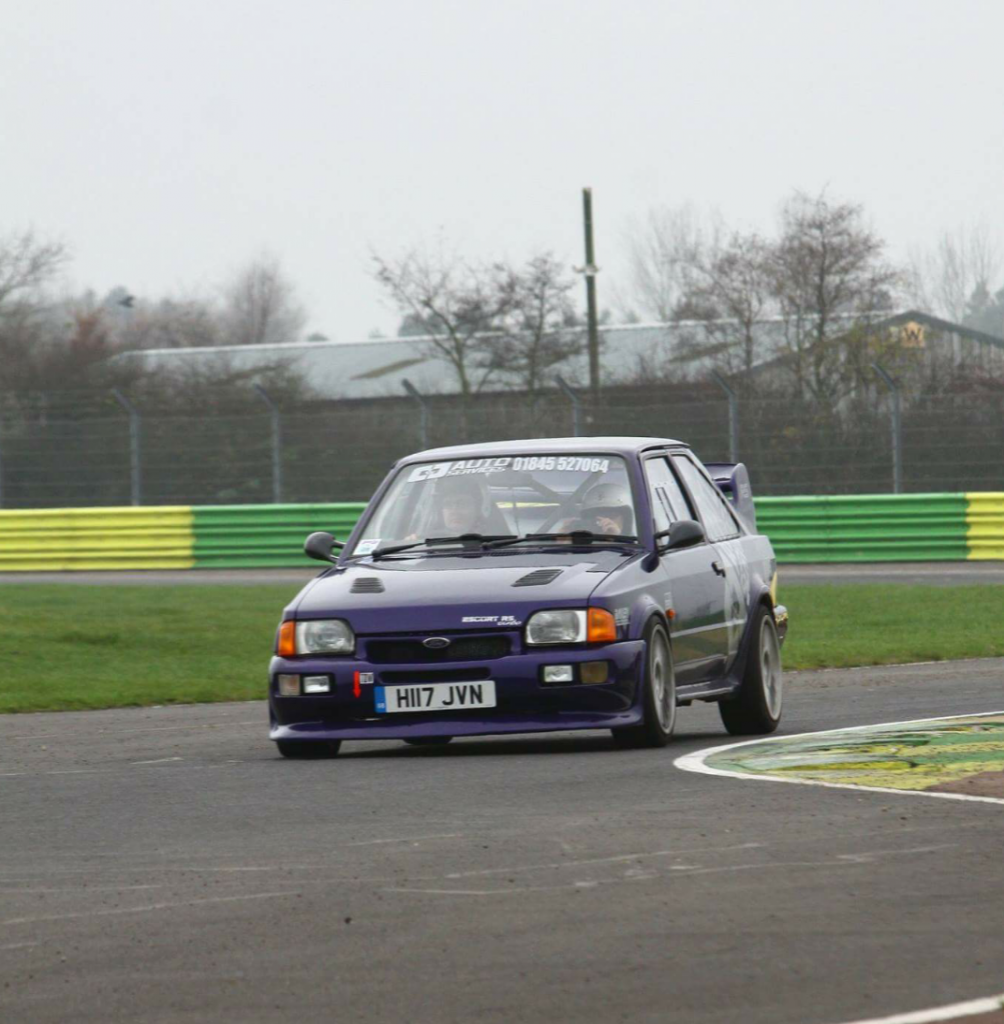
So then had a trip to Essex to get my cage, manifold, switch and safety gear and various other goodies. Hired a van and went with a mate all in all was a good experience , went through a litre of coffee and had a laugh. All dropped off with the welder now for a proper fit.

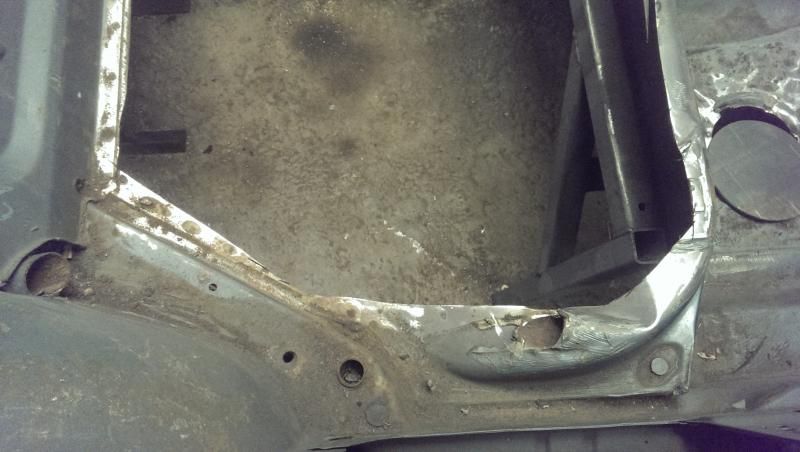
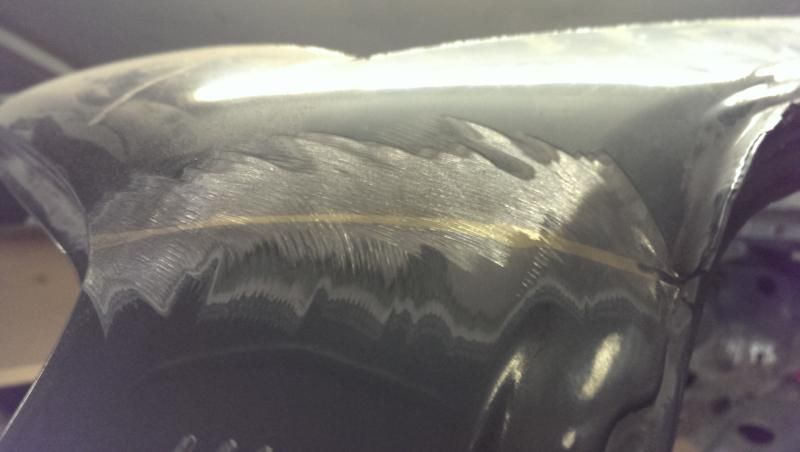
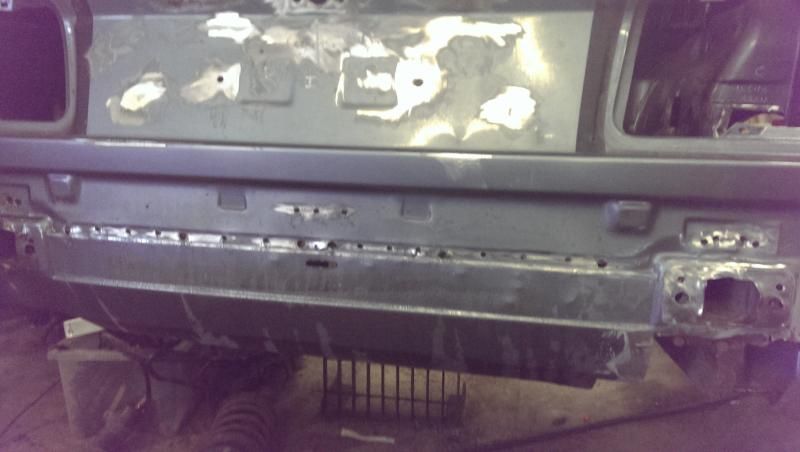
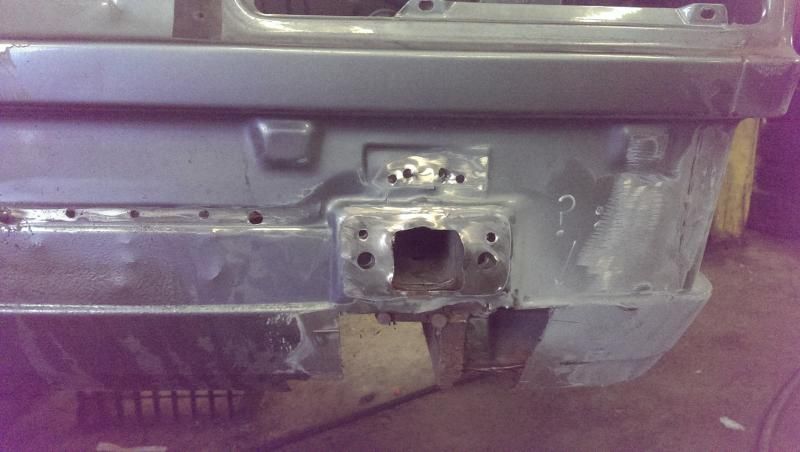
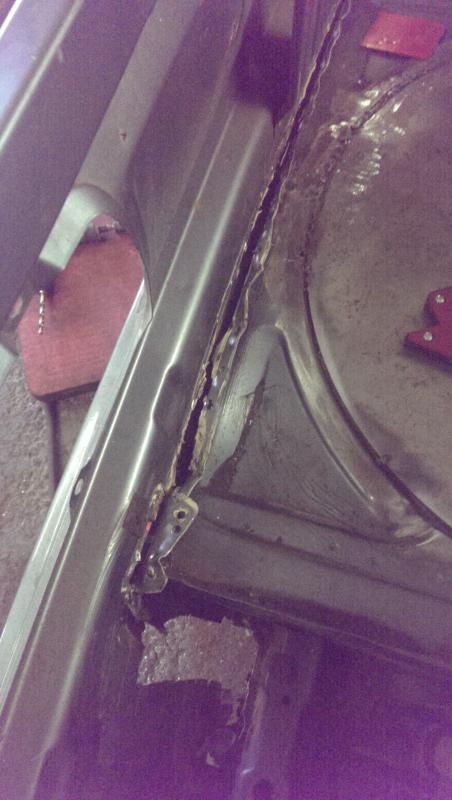
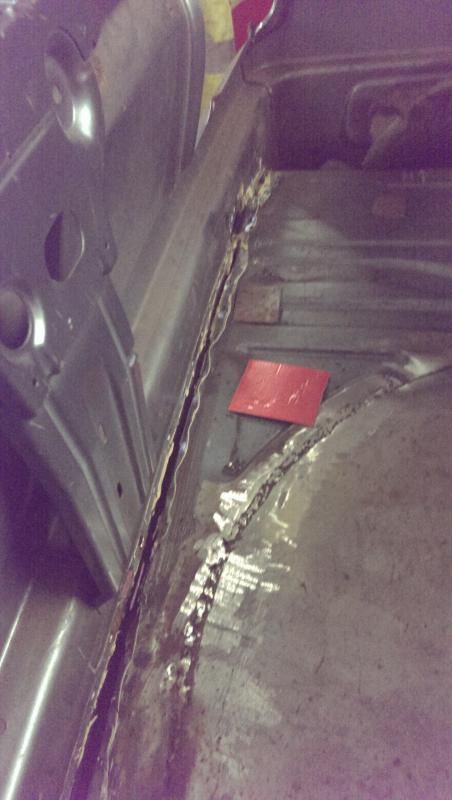
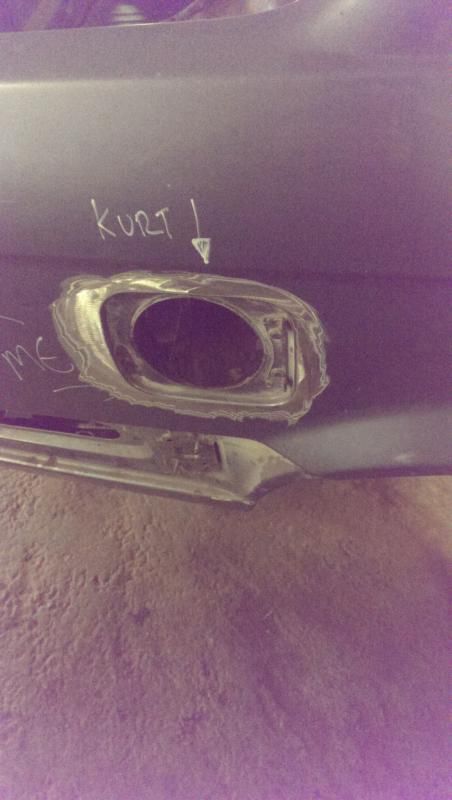
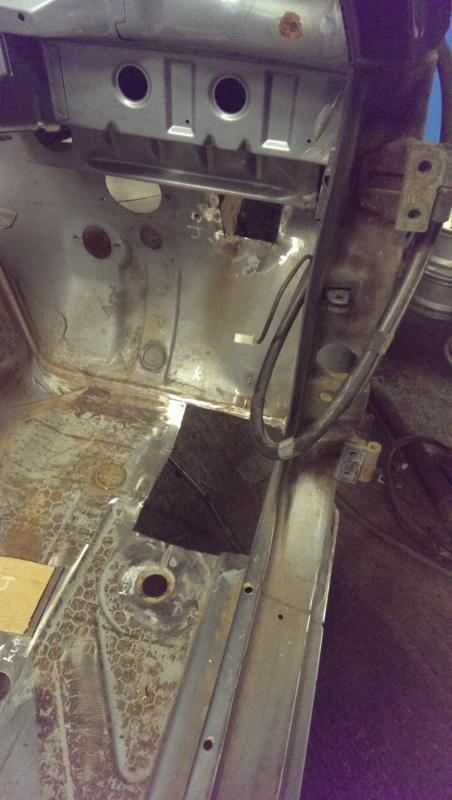
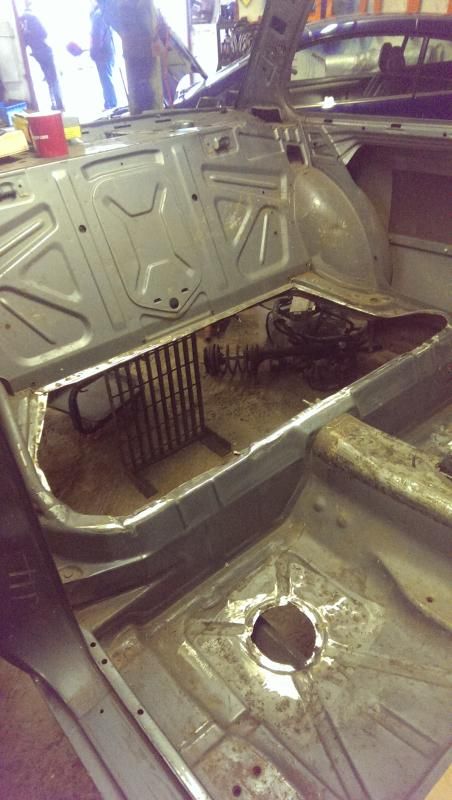
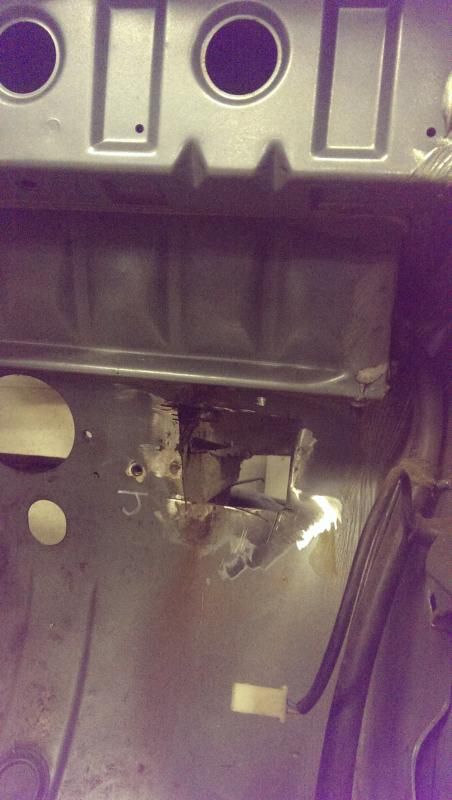
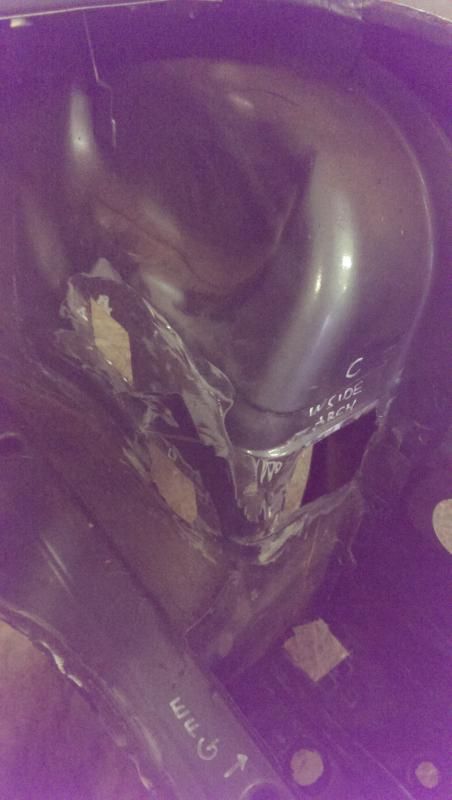
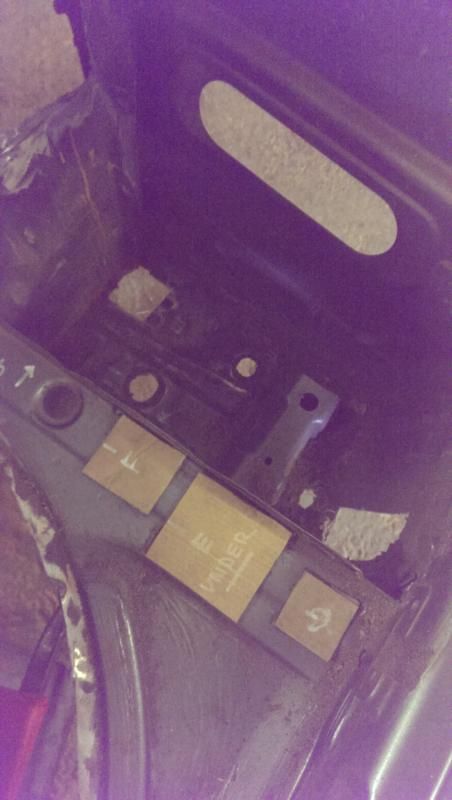
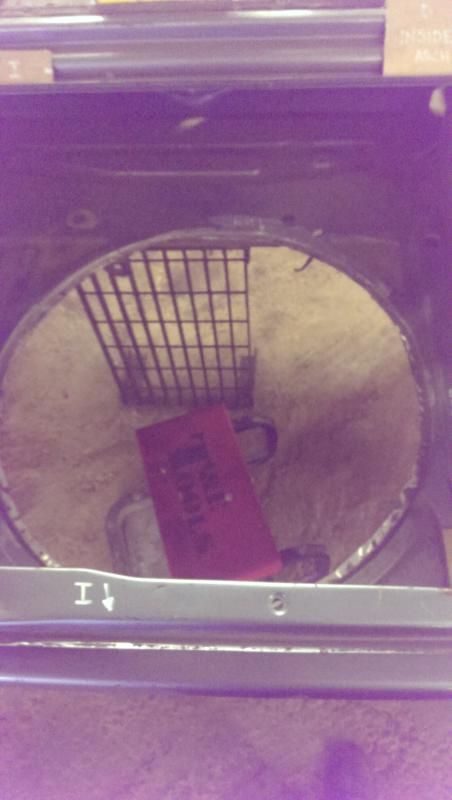
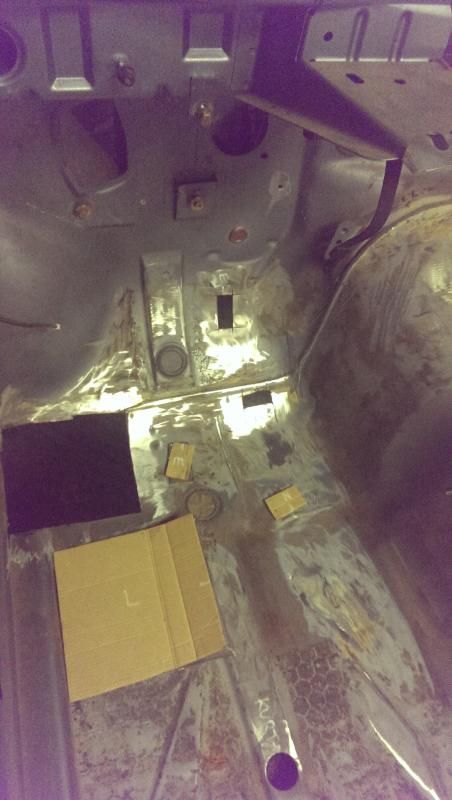
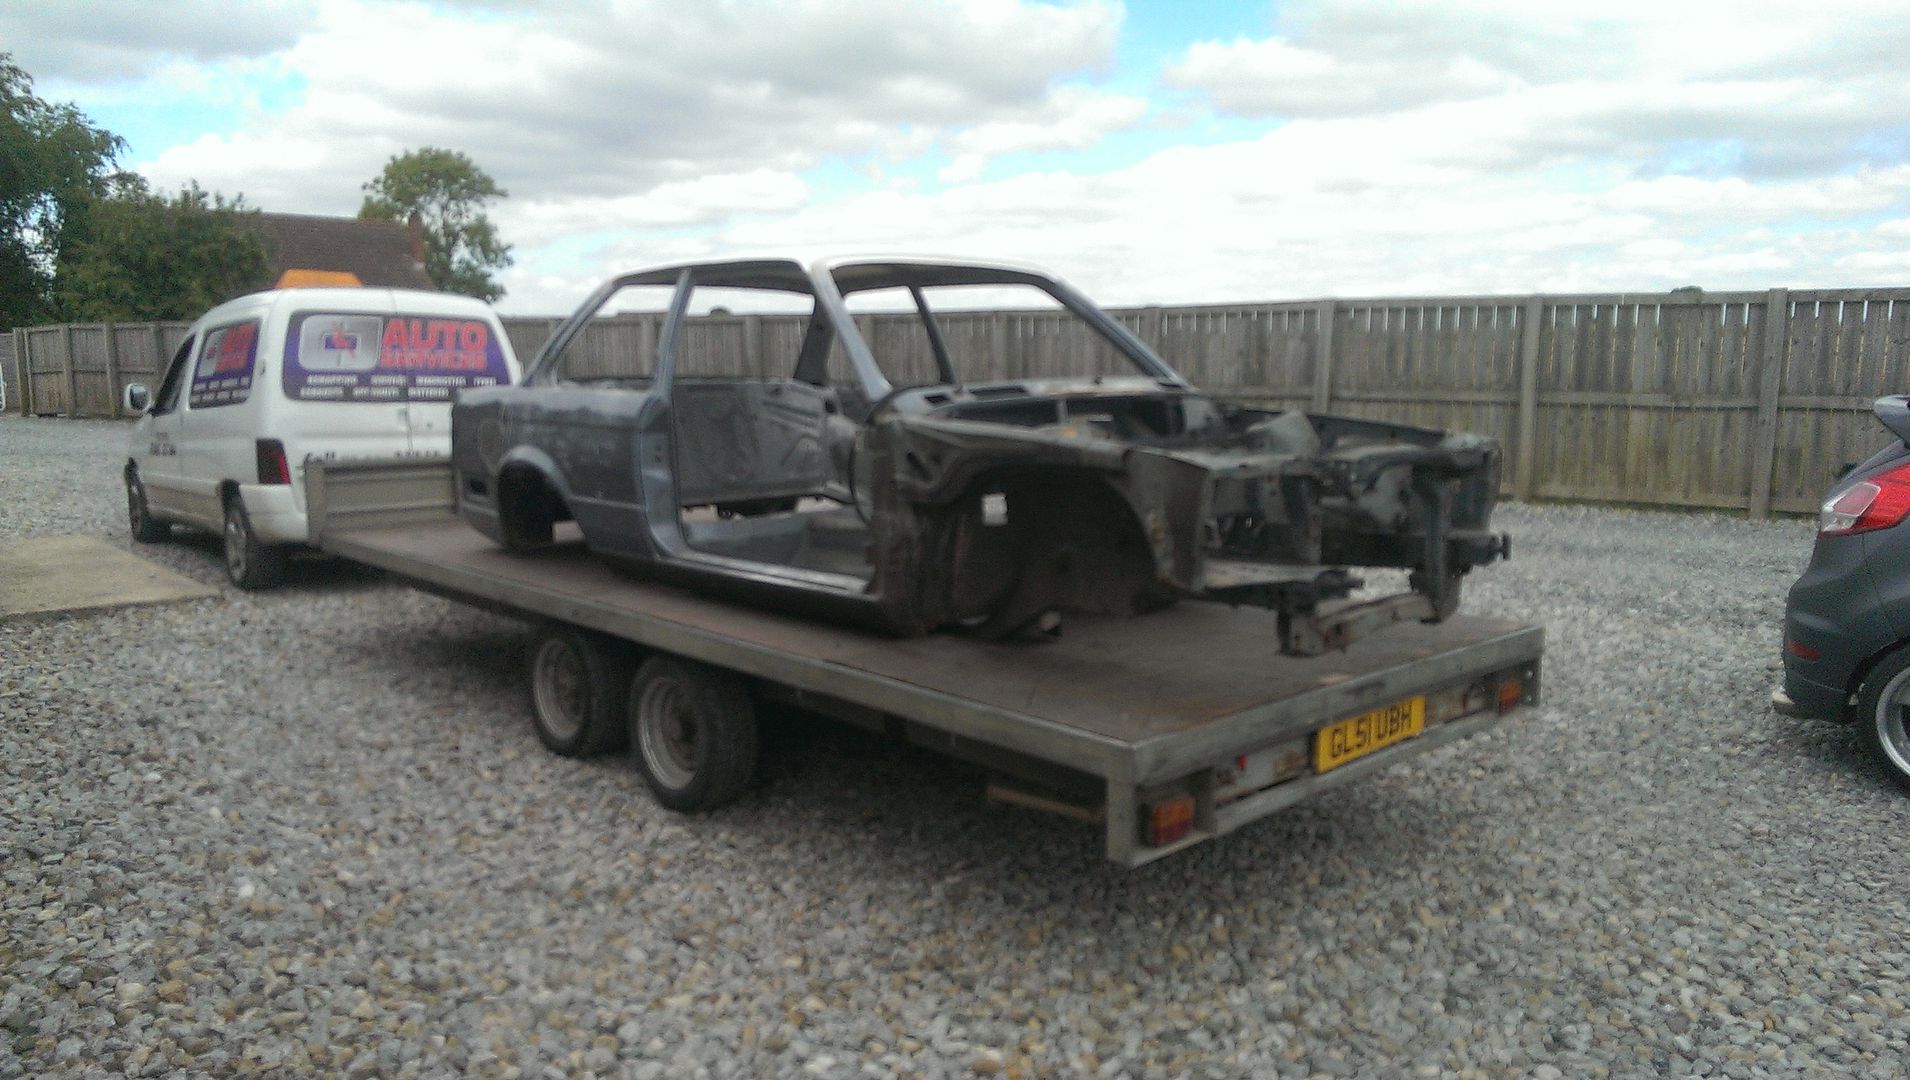
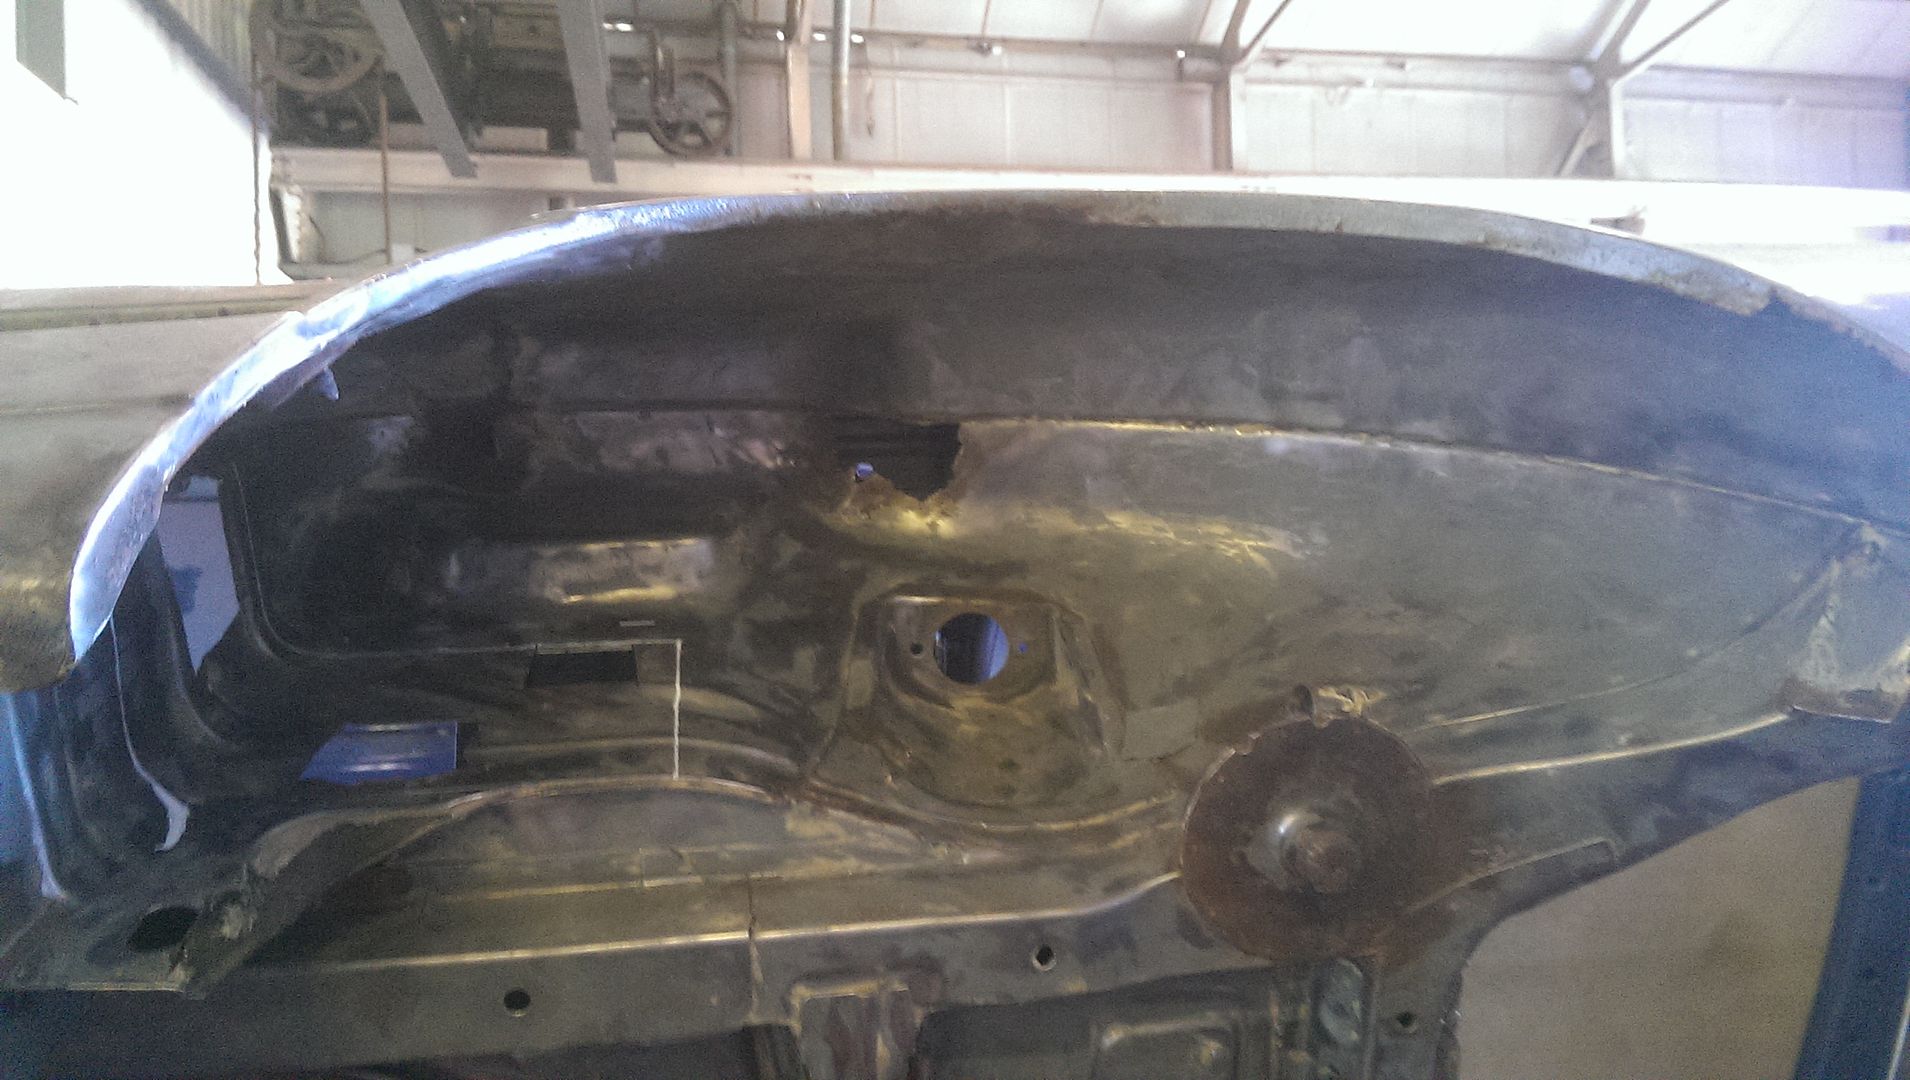
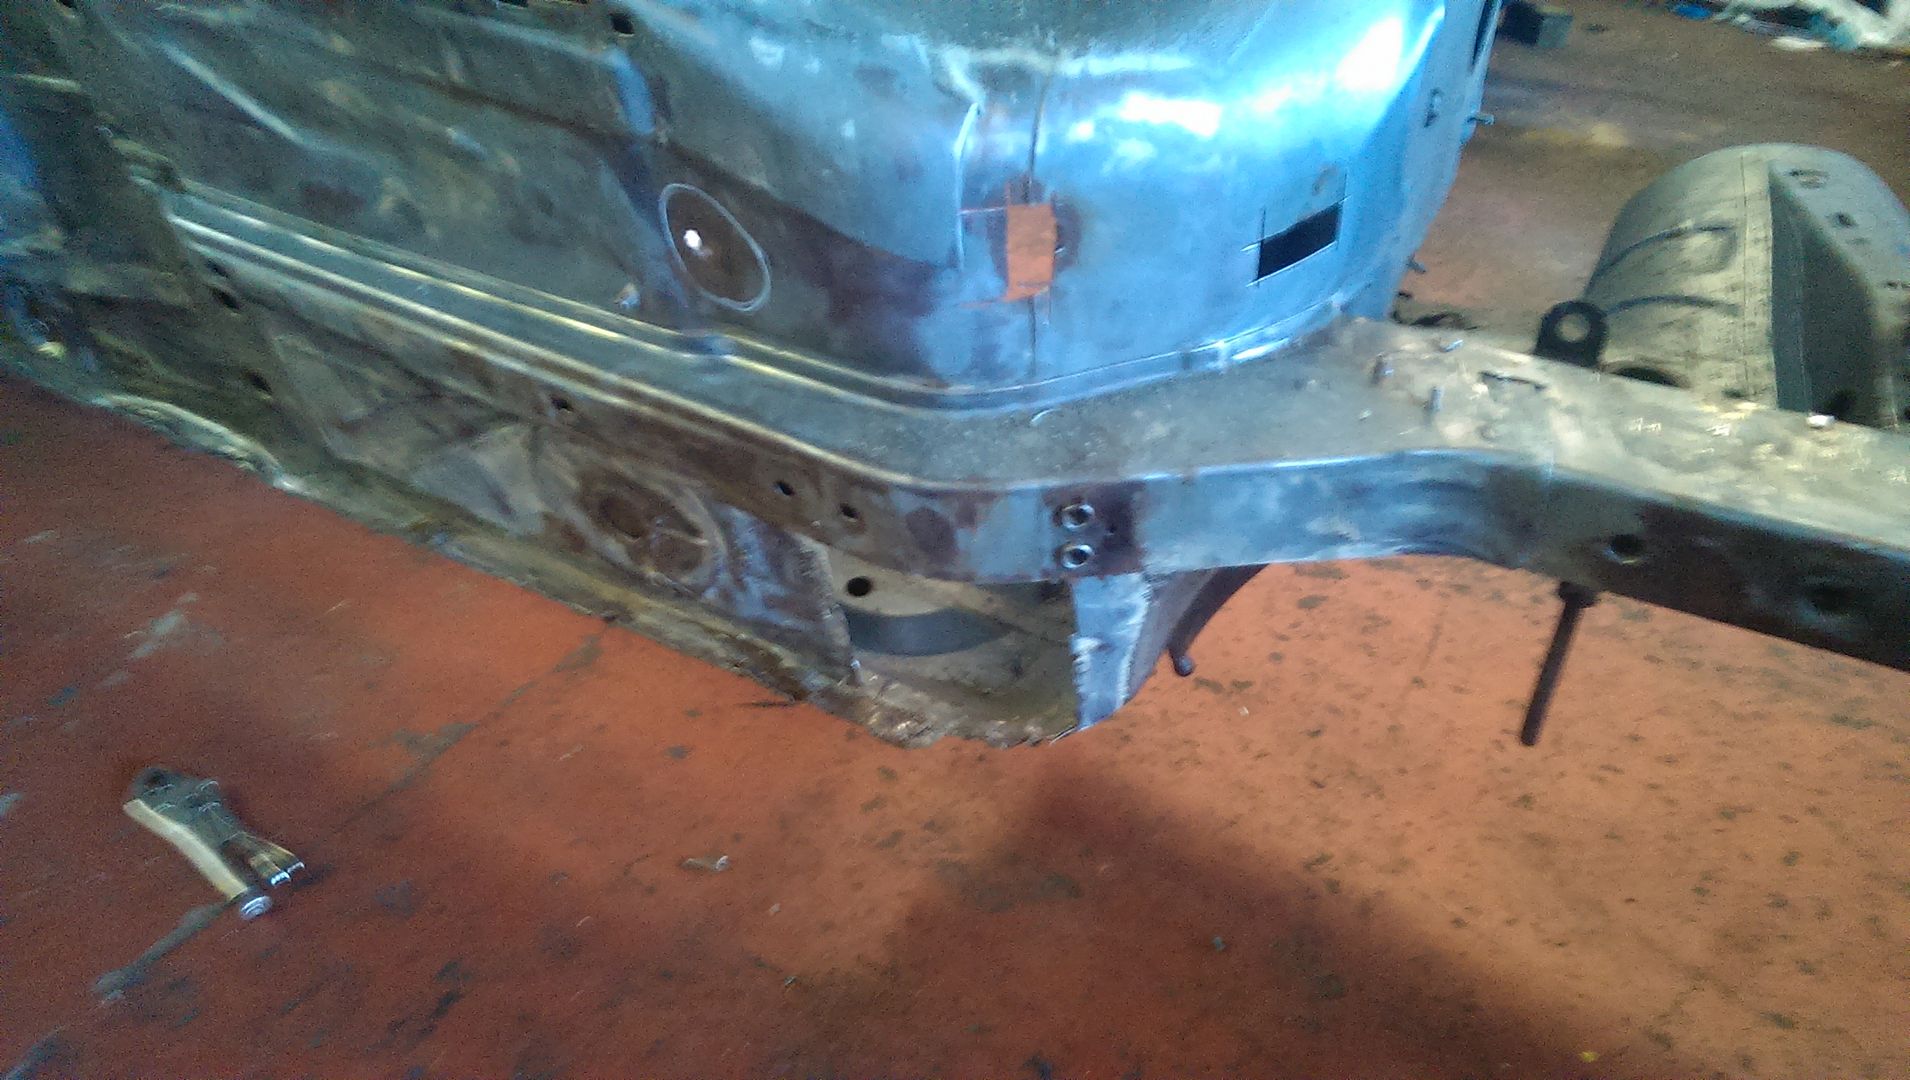
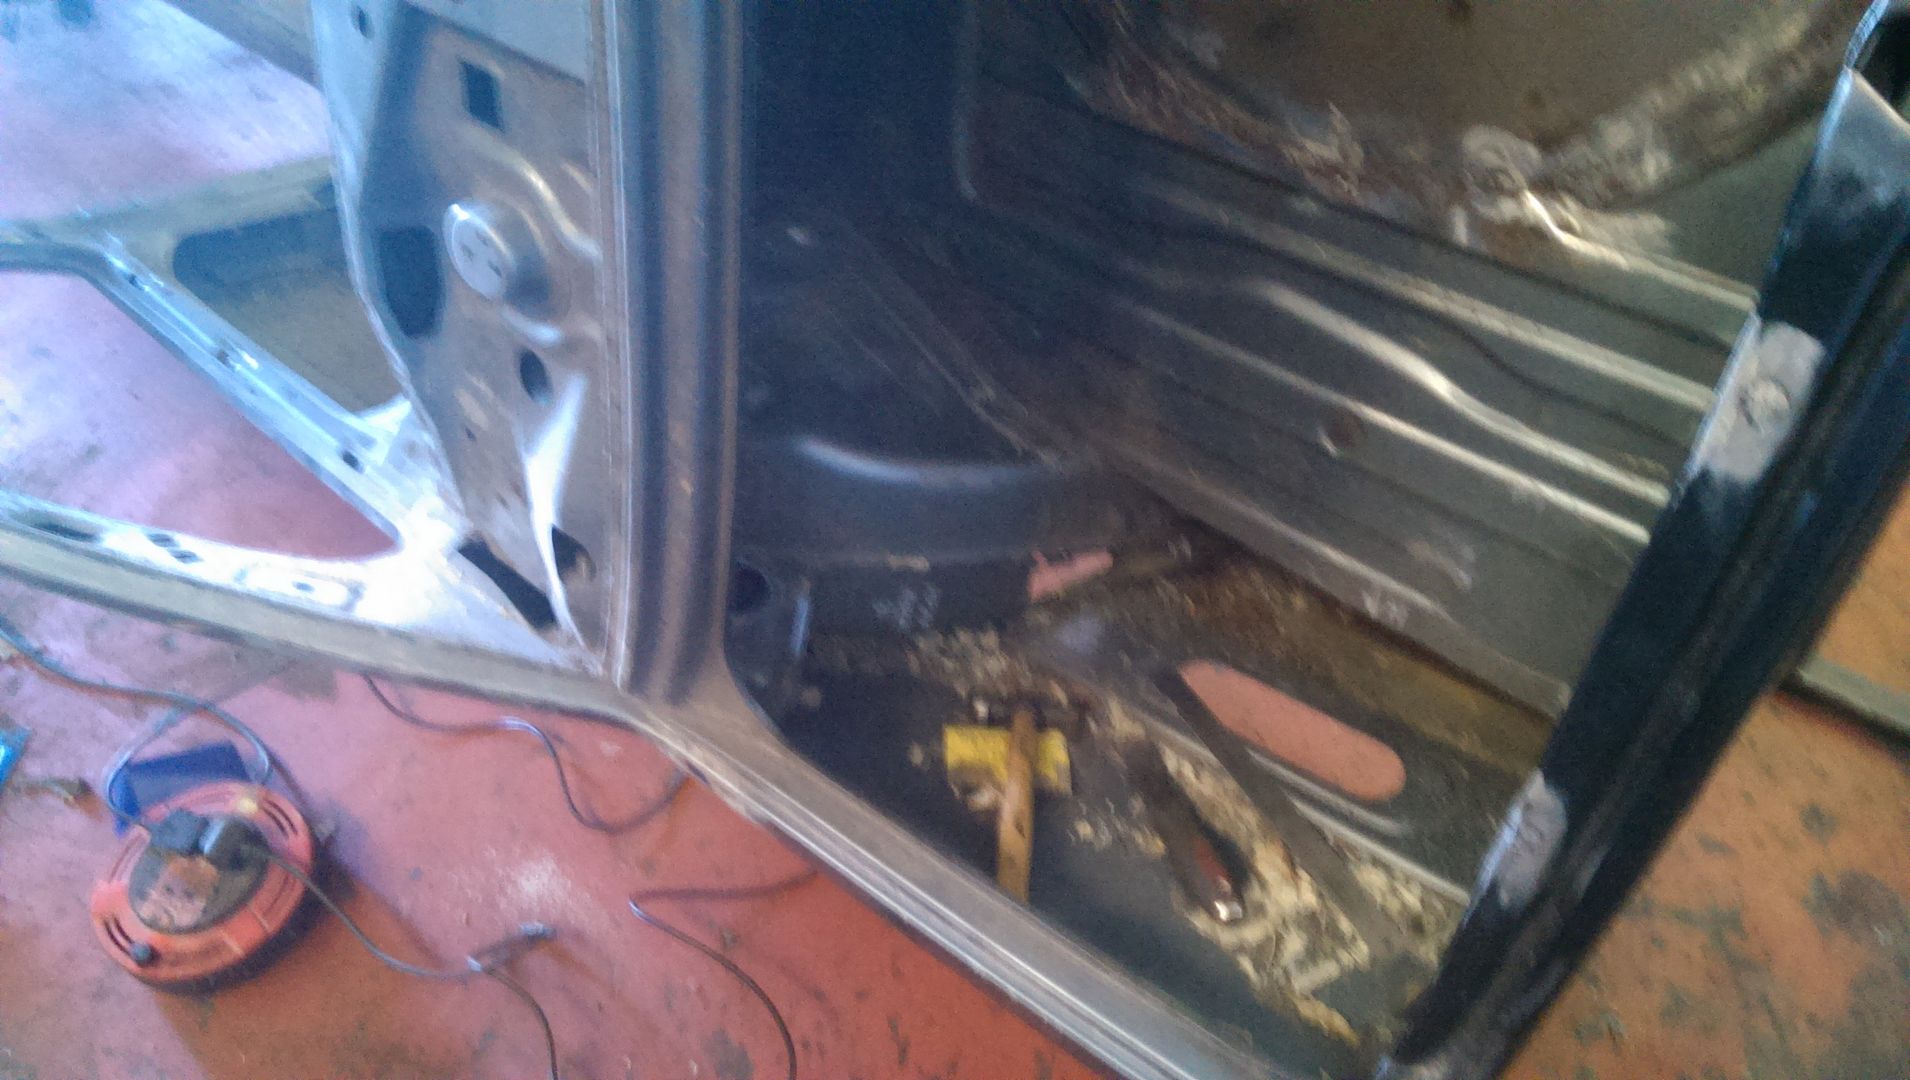
Here's some progress pics from its time at welders so far , removing the under seal was a right mission apparently but it seems to have done its job for last 20+ years


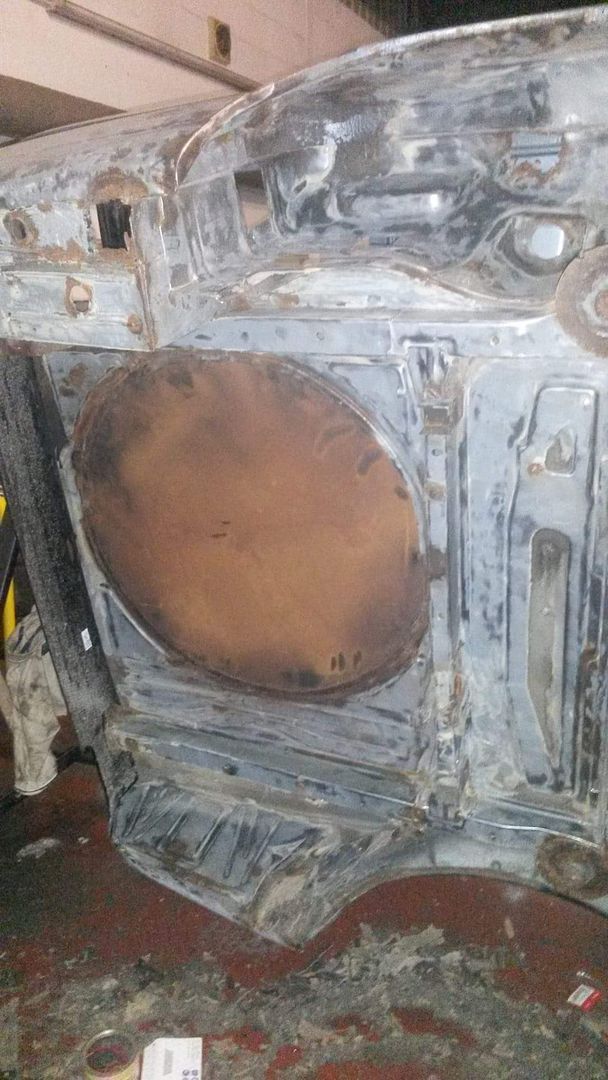
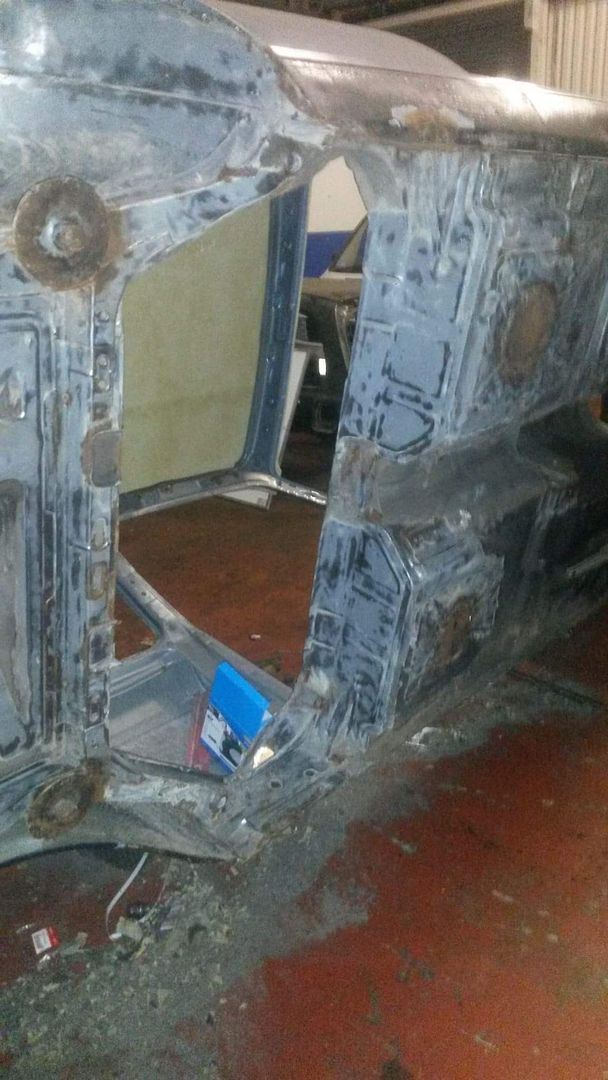
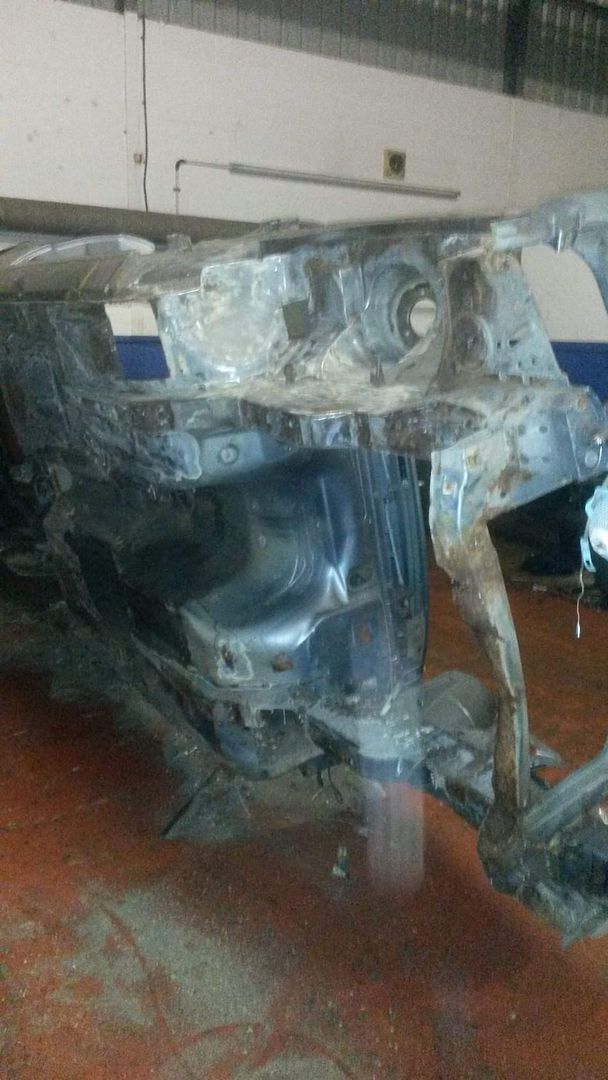
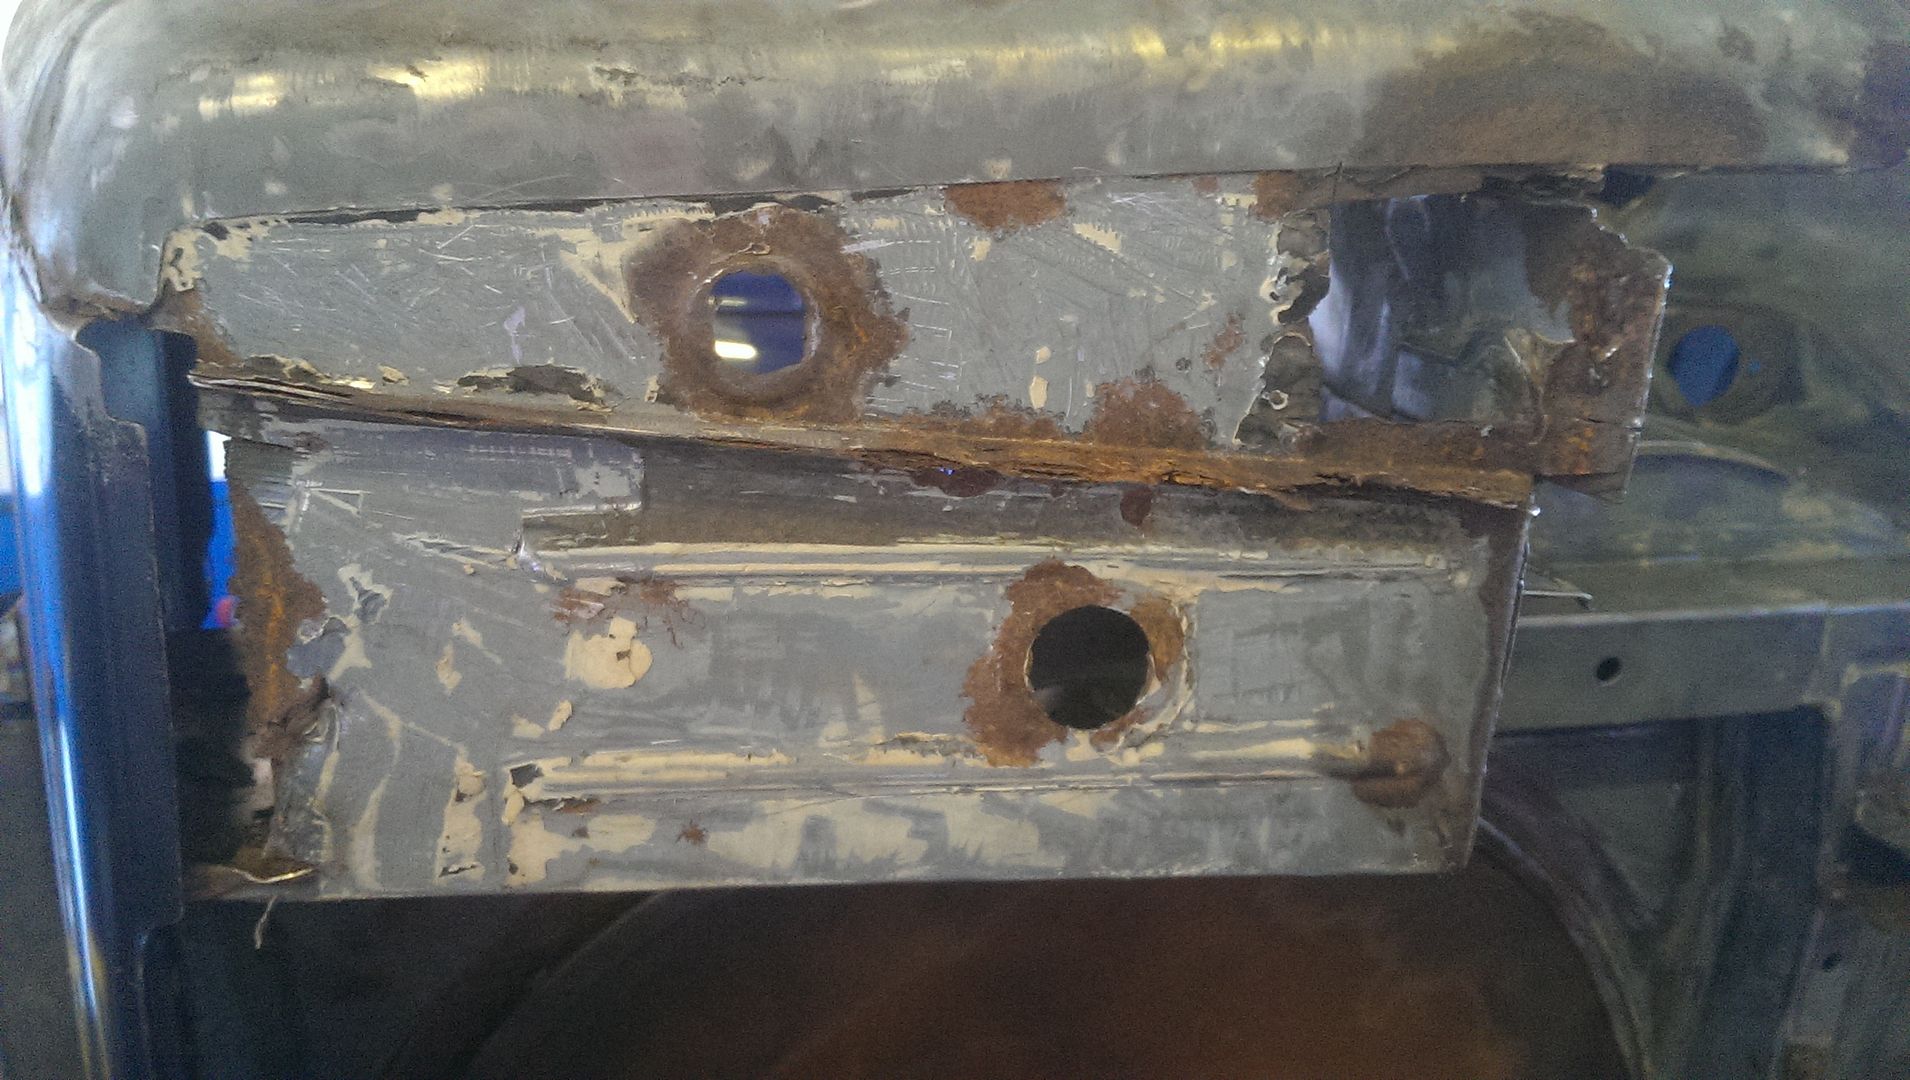
Try to get more of a update asap

Thanks


Thursday 5 March 2015

Goodies ..... xmas has come early !!!

On to the fun stuff....

Managed to do some shopping and located a good few parts a bloke was breaking a sprint car and really helped me out got some right bargains and the fella is more than helpful.

So here we go pics time:

Cage:


Will obviously be getting a nice lick of paint before fitting
 
Random safety gear and switches:


Quick shift:


Manifold (shiny, shiny):
 
 
Also have some 51mm front struts that don't have pics for awaiting collection from same guy.
 
Now onto the lightweight gear:


So another quick updated completed
 
 
Thanks


Slowwwwwwww progress....

Hello to you all

Been a while I know , been busy , overtime mainly to fund this project!!!

Think going to start with the gaping hole that used to be where the rear bench was.
Finished the template and that will be picked up shortly and made out of 5mm steel and folded to fit, some pics of the hole and the template, may not look much but will be spot on when finished I'm assured.


A quick update on the roof situation, decide to sand down the pillars to locate where the skin is braised on, looks like this:


Also been picking out the sealant from under the gutter rail to locate the spot welds ready to drill them out and after a bit of trimming front and back to keep a small lip for bonding purposes the roof will be lifting straight off. Well that's the plan come Saturday.

Ordered a new front and rear end just as I wasn't happy with the condition they were in and I'm sure a wise man once said "if a jobs worth doing, its worth doing right"

As I speak they are sat there in the garage waiting for me and were a real bargain from Germany and were here in a few days!!

So in preparation started removing the rear end , loads and loads and loads of spot welds and sealant, just needs the braising cutting now.

Heading in right direction:


All a learning curve .....
 
That will do for now :)


Friday 9 January 2015

Grinding, fab and welding ..... starting to get interesting

Here we are at the last post for now bringing me up to date until next week as need to take some more pics really .

So at this point decided needed some serious weight saving measures so did this:


Well I say me but I didn't have the bottle so James did it his more skilled with a grinder and this is one bit I didn't want to mess up !!!
 
Measured it 3 times and off with the roof . Would like to say I didn't want a convertible or a T-Bar etc just didn't want a sunroof and want a fibreglass roof saving weight and having to weld in a sunroof panel which would need filler and possibly warp the roof skin, plus it had signs of rot so ......sacked it off.

Did a bit of fab work and made my self a replacement rear bench with bit of guidance on how to male the template this is the result:


Not 100% there but get the idea some further trimming and shaping obviously required.
 
Then onto the fuel cap. Seen as locating all the fuel stuff in the boot is no longer needed so figured weld it over and smooth it into the bodywork. Thinking of putting a alloy fuel cap on the boot lid as will be pinned down as took hinges off to save weight.
 
Here's the process
 
Ground down to clean metal :


Then cardboard template:


Cut out of steel and held in place ready for welding (at this point I don't weld its not pretty enough):


All welded up and some grinding done.... further prep to follow:


So progress is being made....

Did few other bits and bobs sent some bits off for blasting, all subframes diff etc ready for paint and to see if salvageable

At this point discovered the front strut housings (suspension shock absorber housings) are shot and removed the power steering rack.

Now need a manual rack and custom strut housings or different coilovers now :-(

Also started stripping part of engine down ready for paint / polishing and maintenance parts such as cam belt etc.... bit a head of myself I know but like to fettle stuff.


Dug one of these out and had a nosey ..... wheel porn in my opinion and should give me a nice bit of stance


That's us up to date for now and random dog pic for good measure:


See you next week....


Grinding , grinding and more grinding.....

Here we are again....

..... at this point really got into gear (still took me ages)

So anything that was rotten got chopped out and any original parts ground down ready for repair here are the results :

Drivers foot well:


Drivers side rear foot well:


Rear bench (standard coffee mug in background):


Drivers side behind dash:
 
 
Rear drivers inner wheel well:


Battery tray and drivers side rear well:


Spare wheel well removed as wanted a nice flat boot floor to mount fuel tank, fuel pumps and swirl pot etc:


Passenger foot well:


Will notice in some of these pics random letters and pieces of card these are my templates and a labelling system so remember what templates are for which ..... these were then transferred to steel and are now ready to go.
 
 
Any circular areas including the spare wheel well have been measured and will be cut out of steel on hydro jet
 
 
Th rear bench as previously mentioned was just useless and want to use it to mount stuff on as there will never be a rear seat going in there again.
 
Had loads of help from James and Craig and Jesus they are patient ......
 
 
That will do for now and will do another one in a few Min's to get us right up to date.


Further investigating required :-( .....and nearer to the present

Hi again

So spent few days in the sun out in the yard doing more stripping down and investigating the extent of the rot!!

Removed ALL the sound deadening, I emphasise the "ALL" as anyone who has done this will know just how much of a pain it actually is to do the stuff wont melt off , if you heat it its worse but got it all off in the end even if was really irritating!!

The results from the above was more holes and more of a headache but this way there will no longer be a water trap and I know the car will be safe and solid as last thing want when on a track is a colander for a floor pan.

Removed the dash and bonnet and all wiring too just leaving the engine loom and few bits and bobs then back under cover waiting for the RS to get finished ....

So came the day that the RS drove out and mine was pushed in ..... things them got serious

So I really did get on with the stripping it is genuinely easier to put what is left on the car , taking into account when got it only things that weren't on it were the carpet , seats, door cards and few minor bits and bobs. So here goes:

*Nothing ....... Bare shell.

Here's a pic of removing the fuel tank, the rear subframe and prop shaft along with any wiring pipes and suspension remaining from initial strip.


Front subframe came out with all the suspension, engine, gear box and loom etc.
 
Back on the ground after job done ready to get secured on stands etc so can get worked on .


Going to add that my camera is bit iffy as the phone over heated and has damaged the hardware for the camera so might notice some purple tint to some of the pictures :-(
 
That will do for now .... more to follow


E30 number 2 delivered.... lets see if as solid as was told

Hi all

Been going through photos taken of progress made to get this blog up to date after tonight we should be back to the present with any luck!!

Looks like nothing has happened to the car but have to remember been working full time and have stripped 2 cars down fully one to sell parts off etc and the other to the stage where it is now as was essentially a full car.

So not too much slacking ;-)

So you saw in last update hopefully the E30 on back of a transit (that had bought blind and in faith essentially) well it got dropped off like that stuck under a cover and left there for a short while outside mates garage until came up with a plan and space was made. Mate was rebuilding his Escort RS and deal was mine in when his out.

It went from this:


To this:


At this point my phone broke so lost loads of pics that stupidly hadn't backed up !!! FAIL

Have to use your imagination at this point but took all the parts out the car was two of everything, windows, doors boot lids etc!!

Then started doing some stripping to see what shape it was in....

The following were shot:

* Front wings
* Corner part of foot wells
* Battery tray in boot and part of rear valence that is bonded/welded to it to it
* Front Valence
* Front end where the oil cooler is fitted
* Rear bench

Not too fussed about half of these as either got replacements new or off old red one same as below really....

Things that were a bit suspect are:

* Bonnet
* Lower part of one of the rear arches including inner but for some reason other side is fine!!
* Some of floor pan under the sound deadening
* Roof


Little update there going to do them in several posts so makes lighter reading !!!